
For all those who want to learn how to make a custom audio CDNext, we are going to explain the simplest and most direct alternative, which is through the Windows media player itself, following a series of very simple steps that you can carry out regardless of your computer-related knowledge.
What is a personalized audio CD
Before starting to learn the steps to make a personalized audio CD, it is essential that we understand what we are really going to do.
As you know, when it comes to moving within the field of sound files, there are a multitude of formats, each of them having a series of characteristics that make them more or less suitable depending on the use for which they will be intended.
In that sense, for example the MP3 format is very useful to us when it comes to ensuring that the sound files take up the minimum possible space, but in exchange we are going to lose a certain sound quality and at the same time we must also take into account We can only play these files on certain players.
However, in our case what we are going to do is create an album with our favorite music but with the particularity of that can be played on any player, that is, creating the audio CD of a lifetime that we can play in our car, on any sound system, on computers, etc., thus achieving maximum compatibility.
Obviously this will mean that each song will take up more space than, for example, if we use other formats such as MP3, but as we said, this will help us play on any type of CD player while also having higher sound quality.
Steps to create a custom audio CD
Having said all the above, below we are going to explain how we can create a music CD with Media Player.
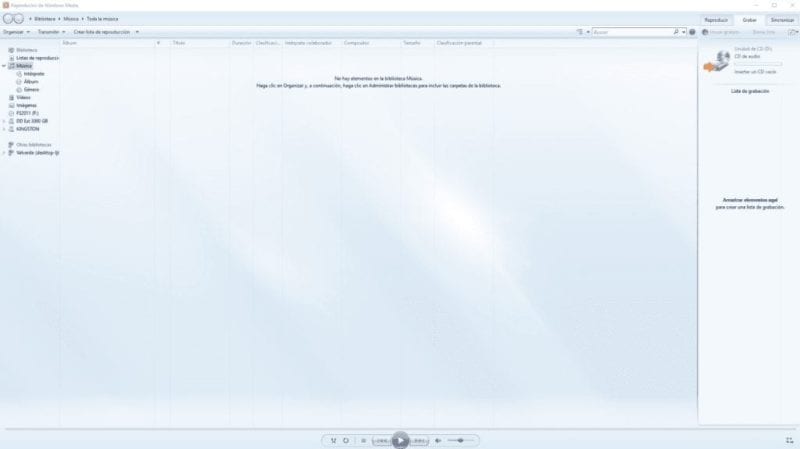
The first thing we will do is open the program, and if you look at the upper right corner of the screen you will see that there are three tabs, the central one being called “Record".
Well, we select this tab and we will enter a new window that will be similar to this:
Of course, it is also necessary that we insert a blank CD into our PC's burner, since otherwise it will obviously have nowhere to record the songs. The typical window will appear to know what we want to do with the inserted disk, which we simply have to close to continue with our recording process.
The process from now on is really simple, since all you have to do is drag the files that you want to include on the CD to the right side where the recording list is located.
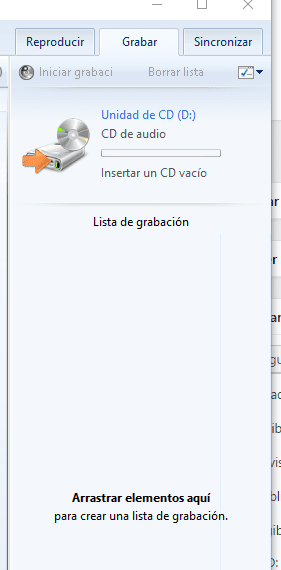
Once you have included all the tracks in this section, the next step will be to organize them by dragging them so that they appear in the order that you like best when playing.
Once all the tracks are well organized, the only thing left to do is start recording, for which you have to look at the top, just below the tabs and just above the recording list that we have created, a button called “Start recording".
The only thing we have to do is click on it and immediately we will see that the recording begins, with the program itself taking charge of carrying out the format conversion and transferring the files to the CD that we have inserted into the recorder.
By following these simple steps you will have learned how to make a personalized audio CD using a program as simple as Windows Media Player.
Industrial Engineering student and lover of writing and technology, for several years I have participated in various pages with the aim of always keeping myself informed of the latest trends and contributing my grain of sand in this immense dissemination network that we know as the Internet.
 – Access to Wi-Fi settings")


