
Far from the controversies and confrontations that occur between the giants of the world of computing and telephony, the truth is that the end user generally chooses to use all those tools that he considers useful for his work and, in general, for his daily life. . For that reason today we are going to explain how to set up Gmail on an iPhone, easy process to carry out but which can often raise some doubts during its execution.
Article Content
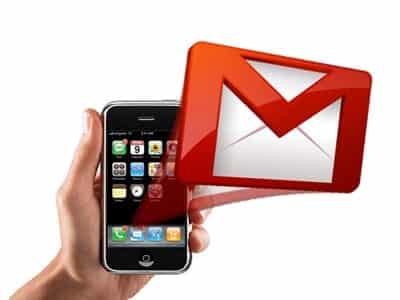
Read Gmail emails on iPhone
Controversies often make it more difficult for us to access all the tools that we like to use, and a good example of this is when we want to read our google email Through our iPhone, a process that can often end up becoming a real odyssey.
For that reason, in today's tutorial we are going to try to learn how to set up Gmail on an iPhone, following some very simple steps and above all assisting you with all the doubts that may arise.
Steps to configure Gmail on an iPhone
There are different ways to configure Gmail on an iPhone, and our job today is going to be to let you know each one of them so that you can choose the one that is most comfortable and practical.
Via the free Gmail app for iPhone
One of the easiest ways to configure Gmail on an iPhone is through this application. The only thing we are going to have to do is click on the link that we are going to place below, through which to do is to iTunes official page from which you will download and install the program.
As we can see, the process from now on is very simple, since we will only have to access our favorite email account, performing a simple configuration.
Access via Mail
Another way is by accessing directly from our Email. To do this we will enter the Settings section of our iPhone and then click on “Mail, contacts, calendars".
Now click on “Add Account” and then we select the google icon.
The next step will be to enter our access data and then we can choose which tools we want to activate and which of them we prefer to keep deactivated.
Once these options are selected, the synchronization will begin, and we can now enjoy our Gmail account through our apple device.
Of course, now we advise you to take a look at the advanced settings, since this way you can choose the best configuration and adapt all the services and synchronizations to your tastes.
By following these simple steps we will see that it is very easy to configure Gmail on an iPhone, but if for any reason you have any questions or problems, from here we will try to help you in everything we can.
If you know any other way to set up Gmail on an iPhone, we thank you for including it in the comments section.
Industrial Engineering student and lover of writing and technology, for several years I have participated in various pages with the aim of always keeping myself informed of the latest trends and contributing my grain of sand in this immense dissemination network that we know as the Internet.
 – Access to Wi-Fi settings")


