If you are an ONO customer, it is important that you learn how configure ONO email, since you will have at your disposal an account from which you will be able to make good use of.

Article Content
Create your ONO email account
The first thing you have to do is get an ONO email account with the ending @ono.com.
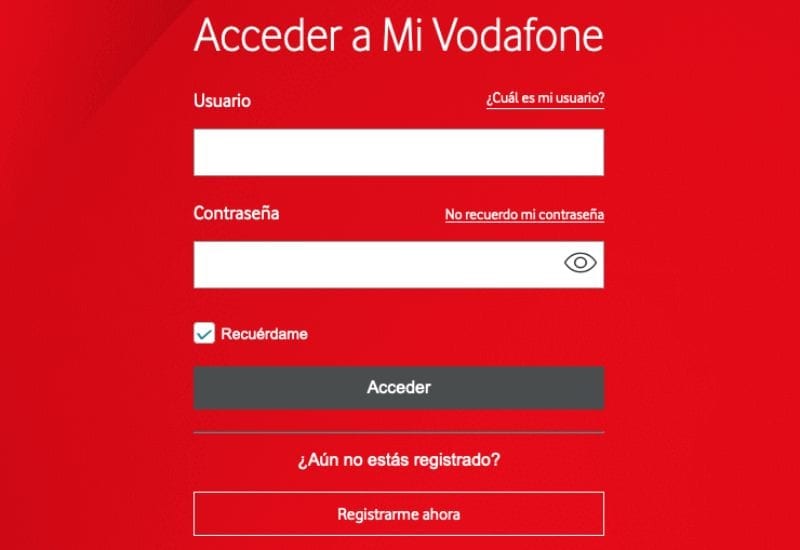
This is as simple as entering the customer area on the website https://www.ono.es/clientes/ and sign up, choosing a username and password, something I'm sure you're also familiar with. You will see how it redirects you to Vodafone since the ONO company was absorbed by it.
The question is to configure the account to be able to receive and manage it from another email, such as Outlook or Gmail. If that is your case, here is how to configure an ONO email account.
What information will I need to configure my ONO email?
Before starting to explain the process to configure ONO email, it is important that we take into account everything that we are going to need to have at our disposal.
It should be noted that the information that we are going to offer you will be useful regardless of whether you are going to configure your email with POP3 or if you are going to do it through IMAP.
- Email address: it will be of type yourname@ono.com.
- Password: it will be the one you have chosen for your email.
- Incoming server: pop3.ono.com
- input port: 110
- POP3 Security: none.
- outgoing server: smtp.ono.com
- Port of departure: 25
- SMTP security: none.
- Authentication: Always use the same password.
The two options to configure your ONO email
We will have two options to configure, which are the following:
Configure ONO email with POP3
Doing it is very simple. To do this you only need to have the data from the outgoing (SMTP) and incoming (POP3) server. The configuration data is:
- For outgoing server: smtp.ono.com
- For the starter: pop3.ono.com
In the additional configuration of the outgoing server, check the need to require authentication. Then you just have to enter your ONO email account and your password.
If it is an account linked to a private domain, the server addresses, both incoming and outgoing, will be that of that same domain (example mydomain.es).
Then enter your ONO email account and password. Check the same authentication request box, the same as in the previous example.
Set up your ONO account on an IMAP server
The same steps that you have seen in the POP3 configuration are just as valid for an IMAP server. You need the data to enter into the outgoing and incoming servers, mark the authentication request in the outgoing service, and if the email comes from your own web address, have it in the incoming and outgoing options.
Do you have any questions or is the process failing? In this case, you can access the ONO page to help you, or configure your account to facilitate the process.
Add Ono Mail to Outlook
If you don't have an account yet, we'll explain how to create an account in Outlook Once you have it, we will explain the steps you must follow:
- Go to the tools menu, it is at the top right and select the “Set up account” option.
- Click on the "new" option to add your email
- Select the option “Microsoft Exchange, IMAP or HTTP
- Click “Manually configure server options or additional server types”
- 3 options will appear on the screen and we must select “Internet email”
Once we have completed the previous steps, another window will open where you will proceed to enter your data:
- Name
- Email you want to configure
- IMAP or POP3 server
- Outgoing server or SMPT
- Finally you must enter the username that must be the same as your Ono email and your password.
Click next, a new window will open and you must click on "My outgoing server (SMTP) requires authentication" and within this option select the "Use the same configuration as my incoming mail server" section.
Press next and you now have Ono email configured in Outlook! Start enjoying your new email.
Setup ONO mail for iPhone
-
- Go to the main menu, and press the Settings icon.
- Select the passwords and accounts option
- It's time for you to select the option Add Account.
- Click on the Other option.
- Click on add email account
- Here you must provide a series of data corresponding to: name, email address, password and description.
- Name: you have to add your first and last name. Remember that it is the name that will appear when you send an email.
- Address: the email address, such as angel@ono.com.
- Password: The same one you use to enter the ONO page.
- Description: You do not need to fill it out.
- Afterwards we select the POP option.
- We will have to put “pop3.ono.com” in the incoming email.
- In the user option, the name of the email account you entered previously (angel@ono.com).
- Enter the name of the outgoing email account “smtp.ono.com” again.
- Click on Save and in this way the account configuration will be effective.
Configure ONO for Android
-
- We select the icon Settings.
- Click on the option Wireless networks.
- Select the option Mobile networks.
- We select APN o Access Point Name, depending on the model of the mobile phone we are using.
- Choose the Menu option, and select New APN or New Access Point.
- Once you have configured the network parameters, we can obtain the rest of the data on the Ono page, section Customer Area.
- Remember to activate data roaming!!!

Inveterate technophile. I write about technology, science, productivity and general culture.


