Let's explain how to open ports for ps4, a simple process through which we will solve the connection problems that may sometimes arise on your Favorite game console.

Article Content
Create a fixed IP for the PS4
The first thing we are going to do is assign a fixed IP to prevent it from varying over time and having connection problems again.
To do this, what we will do is enter the section PS4 settings and we will head to “System”. We enter the option “System information” and you will see the place where you can enter the IP that you want to use, which will depend on your internet provider, but generally we will talk about the address 192.168.1.x, where X is any value other than zero and one.
Set up the PS4 internet connection
Now we return to the settings section again, but this time we are going to enter “Network” and then access “Configure internet connection”. We indicate the way in which we connect, that is, whether the connection from the console is made through a Wi-Fi connection or via cable, and then we select the “Custom” option to be able to manage the values on our own.
Next it will ask us for the IP address settings, and in this case we are going to indicate “Manual” to be able to manage all the data in a completely personalized way, since otherwise it will be assigned automatically and it is most likely that we would continue to have the connection problems that we had until now.
This time we see five sections that we must fill out and they are the following:
IP adress
The first thing we are going to configure is the IP adress, which will be the same as what we indicated in the previous step, that is, the 192.168.1.x.
The only thing we have to do is enter the information requested and we can move on to the next section of Internet connection configuration.
Subnet mask
In the section subnet mask we just have to write 255.255.225.0.
We remind you that we will always write this, regardless of the IP address that we have used, so in this step we are not going to have to warm up our heads at all.
Default gateway
El Gateway or gateway that is the part of the PS4 which is responsible for connecting the networks with the different protocols. The main purpose it has is to provide access to the local networks (LAN) to connected devices.
In order to enter the configuration on the PS4 you will have to write the IP address of the router which will be of the type 192.168.1.1 ó 192.168.0.1.

Primary DNS
This data is provided by the company that provides us with an internet connection, so we only have to look at the letter we receive when we make the contract, or we can even access this data through the router.
In the event that we have any type of doubt, all we have to do is call the company itself and they will provide it to us immediately, although it should be noted that each operator has a concrete primary DNS, so perhaps the fastest option would be to search through the internet.
Secondary DNS
In the case of DNS secondary occurs exactly the same as with the DNS primary, that is, we can search on the Internet, in the letter we received from the company, on the router or by calling the supplier company.
We continue taking steps to configure the internet, and now we will notice that it asks us if we want to configure the MTU settings to be configured automatically or manually. In this case, it will generally work fine if you leave it on automatic, but if you experience six problems later, in this step you put it on manual and add the value 1473.
The next step will be configure proxy server, although in most cases you probably won't use it, so all you have to do is mark “Do not use”. However, if you want to use a proxy, all you have to do is activate it and configure it following all the steps indicated.
Enter the IP through the computer
Now we can move on to the computer to continue configuring the router, so we will open the ports so that it can connect the PS4 smoothly.
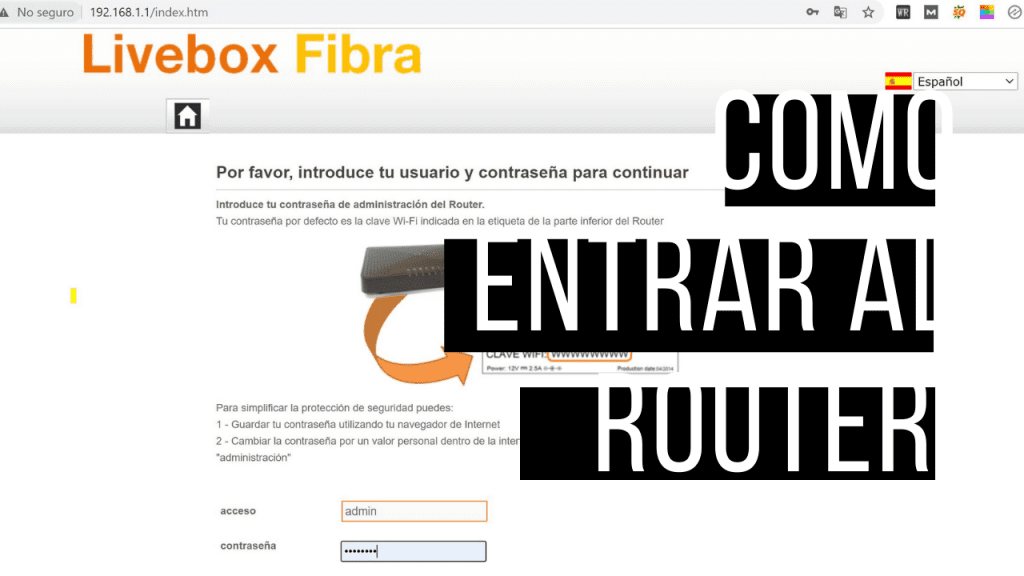
We go to the browser that we use to connect to the Internet and enter our IP (remember that it is type 192.168.1.x), and now it will ask us to enter the username and password, both data provided by the company itself, and They will be the ones that allow us to access the router to carry out any type of related configuration.
An interface will appear which may vary depending on the router we have, and we are going to go to the advanced configuration section in addition to looking for a section that will be called DMZ.
Once we access we will see that we have a box in front of us where we have to enter the IP address that we had selected for our game console, so that all we have left to do is accept the changes and from now on we will have completely configured everything for connect to the internet from the PS4 without any problem, for which remember that we have proceeded to open the ports and configure both the router and the console.
Video tutorial
To conclude the post we leave you an explanation that summarizes the steps you must follow to be able to open the ps4 ports.
Industrial Engineering student and lover of writing and technology, for several years I have participated in various pages with the aim of always keeping myself informed of the latest trends and contributing my grain of sand in this immense dissemination network that we know as the Internet.


