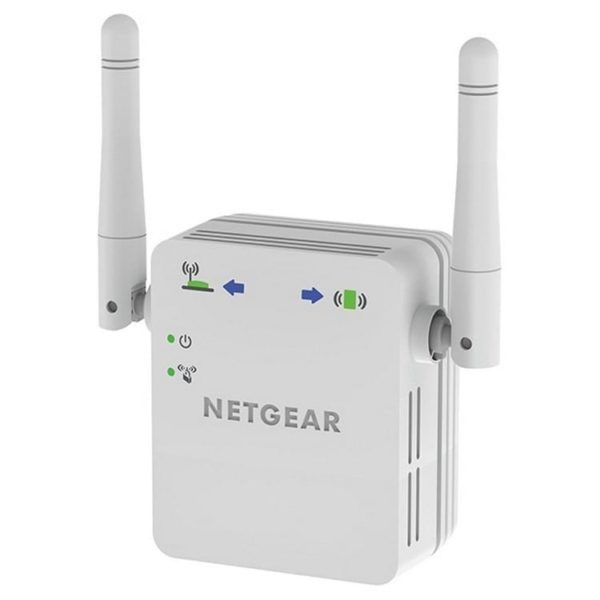
If you want to get the most out of your WIFI repeater, we have developed this tutorial with the aim of helping you learn how to set up a Netgear device, thanks to which from now on you will not have reach problems. Internet connection.

Article Content
What is the Netgear WiFi repeater for?
Nowadays, having at all times a good WiFi signal It is something essential, both to connect our computers and also our devices such as smartphones and tablets.
However, there are cases in which we are forced to place the modem in a certain place, and due to the space between its location and the place where we want to connect, we find that we have no signal or it is very weak and we do not achieve a decent speed.
This has a solution thanks to the WiFi repeaters, as for example is the case of Netgear which is rightly one of the most used alternatives today.
Some cases in which we may find ourselves in the need to install a WIFI repeater are the following:
- In hotels, restaurants and large leisure areas.
- In our home we do have several plants.
- At home in the event that there are many elements that obstruct the passage of the signal.
- Ideal for teaching environments with multiple classrooms and floors.
- In short, in those places where the signal is weak or does not reach with the modem and we want to enjoy a good connection.
As you can see, a WIFI repeater What it does is extend the signal so that it reaches further, in addition to doing so with higher quality.
For that reason, we may need iInstall one of these repeaters whether there are long distances, or if there are elements that obstruct the signal and, therefore, I arrive but with insufficient quality.
Learn how to set up your Netgear device

Well, we already know what our WIFI repeater, itself, a process that is simpler than it seems, but if we do not have experience it can become somewhat confusing.
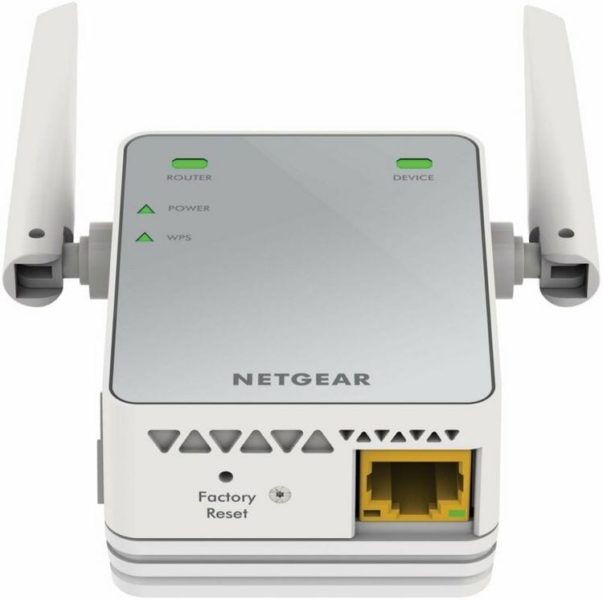
Specifically, we are going to have two possible systems to carry out the setting, either through WPS button in the event that we have it, or remotely if we do not have this button or it is not accessible.
Duplicate the internet speed thanks to a WIFI amplifier It is one of the best options you can take, this tutorial explains all the steps to take:
How to configure the Netgear with the WPS button
If both our modem like ours netgear device count on WPS button, The process is truly simple, since we will only have to follow the steps that we indicate in this brief tutorial:
- Long press the WPS button on the router or modem.
- Press the WPS button on your Netgear.
- Wait a few seconds and the connection will be established without the need to establish any type of connection. password.
How to configure Netgear without the WPS button
However, we may find that one of the two elements does not have the WPS button, or even that for any reason we need to configure without using this system.
You don't have to worry if this is your case, since, although the process is simple, we have two options to choose from:
Connect Netgear and router via cable
An alternative that we have is the possibility of connecting our WIFI amplifier to the router directly by cable.
- We connect the router or modem to the Netgear WiFi repeater via a cable RJ45 network.
- We make sure both are connected.
- Now we can connect to the WiFi network from any device without problem, so what we have is a new WiFi access that will have the name “NETGEAR_EXT".
Obviously, since it is a physical connection, this will limit us in terms of expanding the signal range.
Let me explain, since both have to be connected at all times by a cable, we are going to depend on the length of that cable, which means that we use a short cable and what we do is expand the signal only in the area where it is. the router, or on the contrary we put a very long cable, and if we can move it to another. Several meters further away, then obviously we can get more out of it.
In any case, remember that the WIFI repeater Not only does it help connect the devices in your environment, but, with some notable exceptions, it has a much more powerful and wider signal range than most routers and modems.
Configure Netgear to extend the signal without cable and without WPS
On the other hand, we also have the possibility of establishing a connection between the router and the Netgear WiFi amplifier wirelessly, so we will have more options when installing this second one in the place where we are most interested.
In this case we are going to start as in the previous point, but of course we are going to have to carry out a somewhat longer process:
- We turn on the router and the signal repeater.
- We join the router and the Netgear repeater using an RJ45 network cable.
- We go to a computer and access the address http://mywifiext.net/
- This will give us access to the Netgear configuration window, which may vary depending on the device.
- Once we have chosen the language and answered the questions that appear the first time we start the program, the process will begin to find WiFi networks that are within reach of the Netgear device.
- Obviously, in our case we will select the one to which we want to link our device, that is, the one that is broadcasting by the router whose signal we want to expand.
- Now it will ask us for the password to authorize this link, which is obviously the one we have assigned to our router.
- Another option that it offers us is to change the name of the WiFi connection, that is, so that instead of names like “NETGEAR_EXT", we can personalize it with something else like "Netgear Connection” or any other that we want to assign to it and that allows us to easily identify it. We will have to do this in the SSID section.
- All we have left to do is wait a few seconds or at most a few minutes, and the connection between both devices will be established.
In any case, as we have seen, when we link our Netgear signal booster, What we do is create a new connection that will be based on the connection of the router to which we have linked it.
In this way, we will continue with the possibility of connect directly to the router or do it to the amplifier depending on our needs, but in any case we will always be able to differentiate them.
Industrial Engineering student and lover of writing and technology, for several years I have participated in various pages with the aim of always keeping myself informed of the latest trends and contributing my grain of sand in this immense dissemination network that we know as the Internet.


