
If when you use the Microsoft store you find that disk and CPU consumption increases excessively, it is time for you to learn what is WSAPPXIn addition, we will learn the best tricks to find out the reasons why this excessive consumption is occurring, thus managing to reduce it quickly.
Article Content
What is WSAPPX and what is it for?
WSAPPX is a Windows service that runs in the background, and is necessary for the correct functioning of our operating system or server.
In fact, its function is directly associated with the Windows Store platform, so its task is to manage all the applications that come from the Windows Store.
This means that it will be in charge of downloading, installing, deleting and of course also updating all these tools and small programs that we install to improve our experience with Windows 10.
That is why the problem that often occurs of consuming excess resources from both the disk and the CPU should not occur, since it is not precisely its purpose to slow down the operation of the computer.
The processes generated by WSAPPX can be one or more of the three that we name below:
- AppXSVC: This process is called AppX Deployment Service, and it is the one in charge of the Windows Store infrastructure. It is essential that it is running, since otherwise we may have problems when trying to run any of the applications that we have installed from the Windows store. However, it works on demand, which means that it will only be activated if its operation is required.
- ClipSVC: since it is known as Client License Service, and it is also another thread that works on demand and is responsible for managing applications from the store, so that it will only work when necessary and, if not, We will experience problems in the operation of the apps.
- WSService: This time we are dealing with the Windows Store Service subprocess, which is also responsible for the management and administration of the apps in the Windows Store. It will only be executed if necessary, that is, it works on demand, so its operation is essential if we want good stability to be maintained during the operation of the applications.
From here it is very important that we understand that the WSAPPX service must always be active, that is, we cannot deactivate it, or else the applications that are requiring its execution will stop working properly and will not even be executed.
How to limit WSAPPX disk and CPU consumption
Now that we know what WSAPPX is, it is important that we keep in mind that disk and CPU consumption will not always be directly related to WSAPPX, but there are various elements that can precisely encourage increased consumption precisely when we use functions like WSAPPX.
Therefore, below we are going to present a series of solutions among which you will undoubtedly find one that will allow you to return your equipment to normal consumption when WSAPPX is running.
Study the resource consumption of the applications you are using
The first thing we are going to do is analyze the resource consumption of those applications that we are using.
We assume that WSAPPX will only run if we run applications from the Windows Store, so perhaps we are not having the problem with this specific process, but with the need for resources of that specific application.
In this sense, if we have several Windows 10 apps installed on our computer, what we can do is check the resource consumption when running one of them, and compare when running a different one.
In this way, we get an idea of whether the problem is that one of the apps consumes more than necessary, in which case we must analyze the different alternatives that we have at our disposal, such as increasing the power of our equipment.
But in any case, we also recommend that you take a look at the following three processes that will allow you to analyze whether there are other factors that may affect and increase the consumption of the applications.
Analyze the status of your hard drive
Another thing we must do is analyze the status of the hard drive.
The steps we have to follow to carry out this verification will be the following:
- We have to enter the command prompt as administrators.
- To do this, in the search section of the Windows 10 bar we write “Symbol".
- This will locate the command prompt:
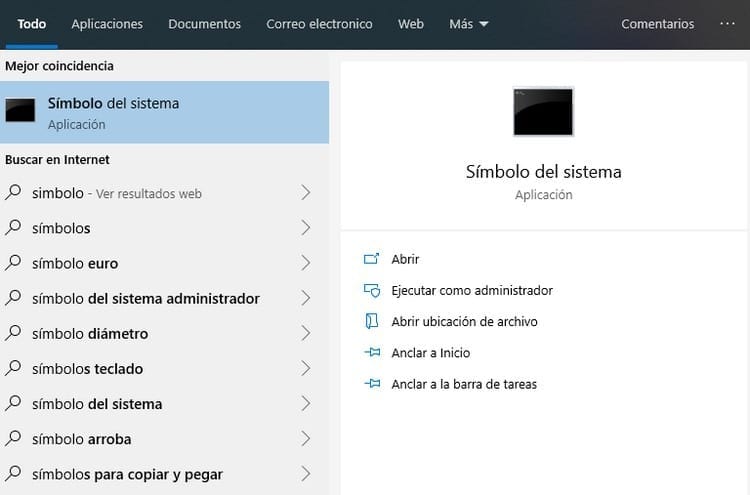
- In our case, we have to look at the part on the right and click on the option “Run as administrator".
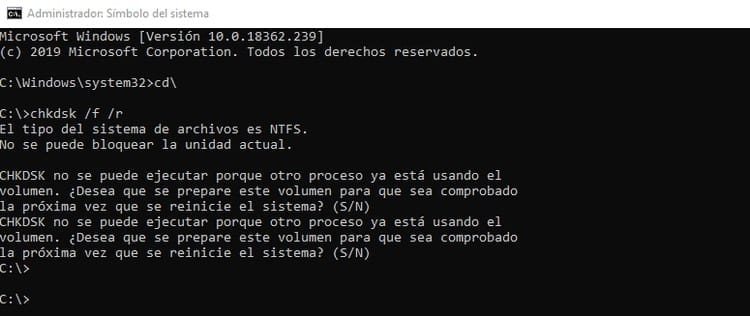
- Now we write the command “CD\” without the quotes and press the Enter key.

- This will send us to the command prompt, where we have to write “chkdsk / f / r” also without the quotes.
- We press the Enter key, which will begin the process.
- However, keep in mind that we are currently using the equipment, which means that the volume will be in use.
- For this reason, a message will appear in which it tells you: “CHKDSK cannot run because another process is already using the volume. Do you want this volume to be prepared to be checked the next time the system reboots? (Y/N)".
- All we have to do is press the “key.”S”, with which we will be saying that we effectively want the volume to be checked at the next system reboot, which will be when the volume will no longer be in use.
- Now we restart the computer, which will begin the process in which it will analyze and repair the C drive:
- On the right side we can see the evolution of the process, and although it usually does not take too long, in any case we must wait for it to reach 100%, which will be when it will have finished analyzing and repairing the unit, and of course the operating system will run with normal.
Of course, in the market we also have the possibility of finding other very complete hard drive analysis tools, but on this occasion we have focused on using the tool that is integrated into Windows 10, thus avoiding having to look for alternative programs that require installation.
Check that your computer is not infected by a virus
It is also very important that we make sure that our computer is clean, that is, there is no type of virus or infection that could be consuming more resources than necessary.
To do this, Windows 10 includes an antivirus that actually works quite well.
Its name is Windows Defender and all we have to do is perform a full scan to find out if there is anything that could be causing the problems.
If you do it with Windows Defender, the steps to follow will be the following:
- We go to the icons on the right side of the Windows bar, and we locate the icon called “Windows security” which will look something like this:

- We double click on it.
- This will open a window similar to this:
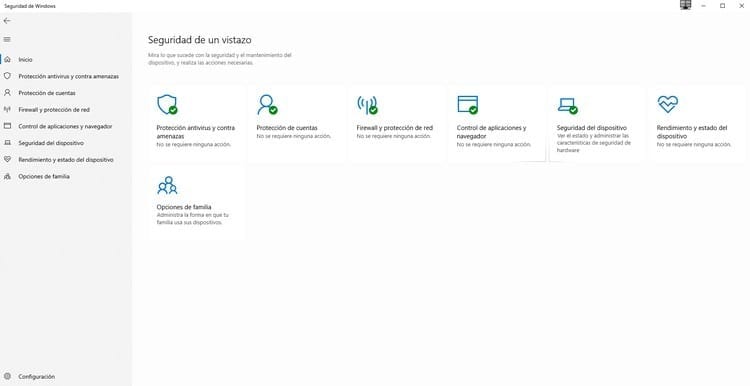
- In our case, we are going to click on the first option which is called “Antivirus and threat protection".
- At this time, we will be seeing a window like the following:
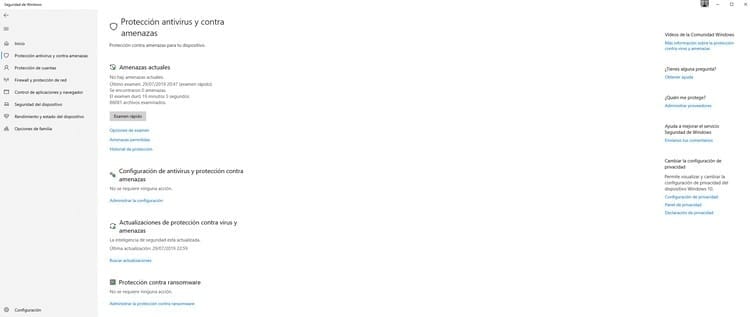
- By default, the button will appear to perform a quick scan, but in our case, we want to analyze the status of our device in depth. That is why we will click on the link “Exam options".
- Now we will see a window like this:

- In our case we are going to select the second option called “complete exam”, since it is the most complete process.
- Now we click on the button “browse now” and the process will begin, which we remind you can even take more than an hour, so we must be patient.
Although the antivirus scan is running, we remind you that you will be able to continue using your computer normally, so as to avoid it interrupting your daily tasks.
Disable the Windows 10 Store app
It is very important that we keep in mind that we will only be able to perform this function or process in the Windows 10 Pro and Windows 10 Enterprise versions.
If none of the previous solutions allowed us to solve the problem and we have one of the versions of Windows that we have indicated, we also have a third option which is to proceed to deactivate the Windows 10 Store application.
To do this, we will have to follow the steps detailed below:
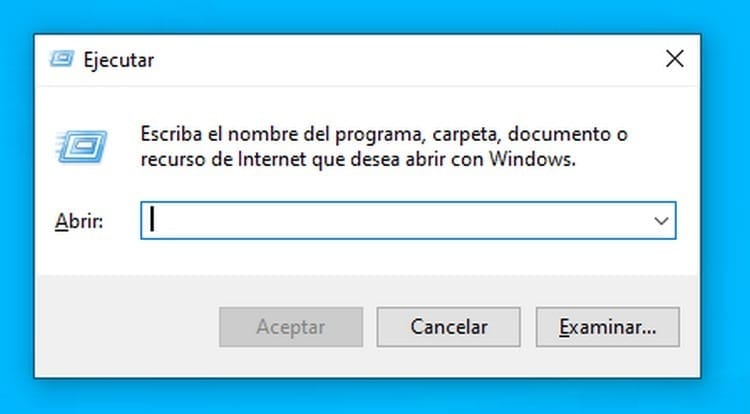
- We press the Windows + R key combination.
- This will open the section to execute commands, which will look similar to this:
- In this section we are going to have to write the command “msc”, obviously without introducing the quotes.
- We click on "Accept” and a window like this will open:
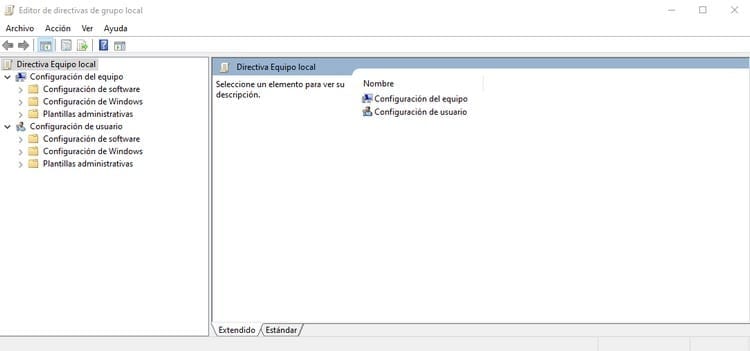
- Now we are going to have to access the section “Equipment setup".
- Here we enter “Administrative Templates".
- Now we access “Windows components".
- And finally we enter the folder “Our shop".
- This will open a series of options on the right, and in our case we have to double click on “Deactivate the Store app".
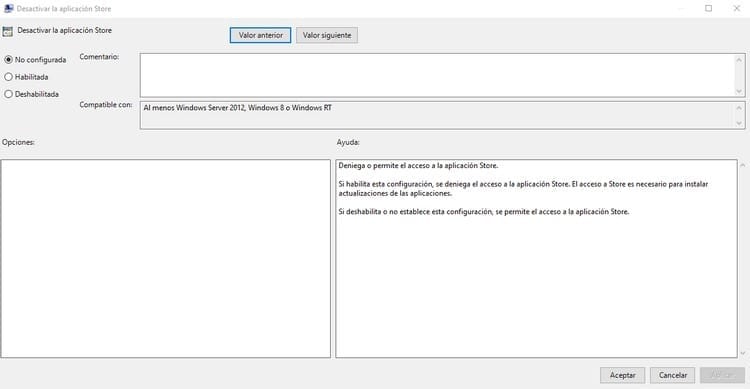
- Now we will have in front of us the window in the previous image, which, as we can see, by default comes as “not configured", and in our case we are going to select the option "Enabled".
- We click on "Accept” and we will have enabled the deactivation of the Store application.
Industrial Engineering student and lover of writing and technology, for several years I have participated in various pages with the aim of always keeping myself informed of the latest trends and contributing my grain of sand in this immense dissemination network that we know as the Internet.


